IPTV (Internet Protocol Television) is a popular way to stream live TV, on-demand movies, and much more using an internet connection. For Mac users, IPTV brings entertainment directly to your macOS device, whether it’s an iMac, MacBook Pro, or MacBook Air. With the right setup, you can turn your Mac into a powerful streaming hub.
This guide walks you through how to set up IPTV on your Mac, providing step-by-step instructions, troubleshooting tips, and expert recommendations for the best IPTV experience.
What Is IPTV and Why Use It on macOS?
What Is IPTV?

IPTV delivers video and television content over the internet rather than through traditional cable or satellite TV. With an IPTV subscription, you can:
- Watch Live TV: Stream channels in real-time.
- Enjoy Video on Demand (VoD): Access a library of movies and shows.
- Use Catch-Up TV: Replay programs you missed.
Why Use IPTV on a Mac?
- Flexibility: Macs are portable, letting you enjoy IPTV anywhere with internet access.
- High-Quality Streaming: macOS devices handle HD and 4K content effortlessly.
- Multitasking Capabilities: Stream while you work or browse.
- Compatibility: IPTV apps and players are readily available for macOS.
What You Need to Get Started
Before setting up IPTV on your Mac, gather these essentials:
- macOS Device
- Compatible macOS versions: Catalina, Big Sur, Monterey, or later.
- Internet Connection
- Minimum speed: 10 Mbps for HD, 25 Mbps for 4K.
- IPTV Subscription
- Subscribe to G-IPTV and will receive M3U playlist URL Xtream Codes API credentials
- IPTV Player for Mac
- Popular options include:
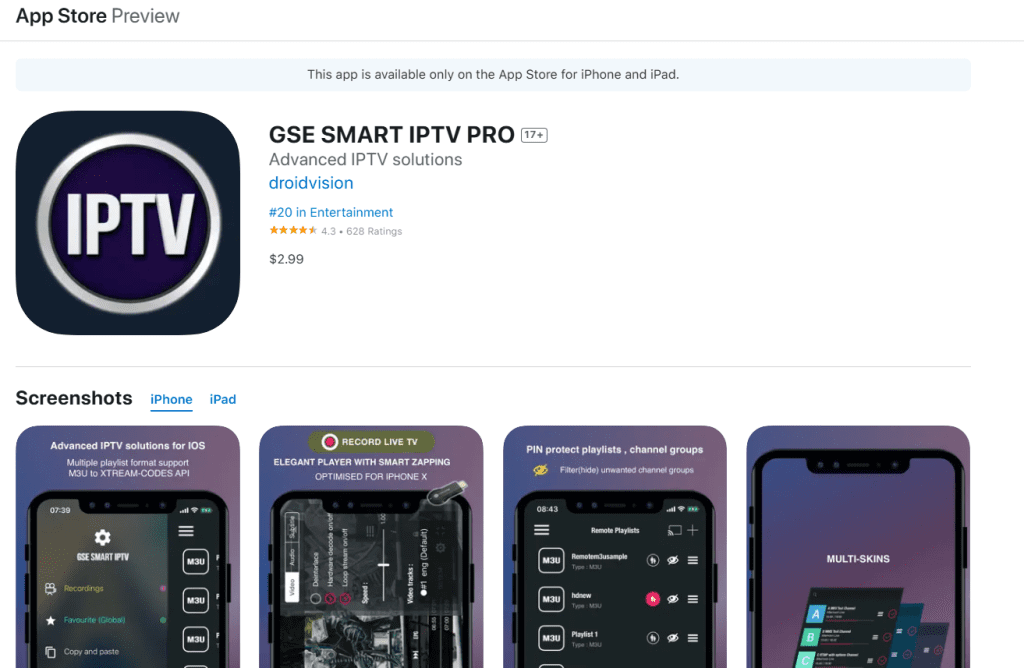
- GSE Smart IPTV
- IPTV Smarters Pro
- VLC Media Player
- Popular options include:
How to Set Up IPTV on a Mac
Step 1: Download and Install an IPTV Player
Option 3: GSE Smart IPTV
GSE Smart IPTV is a user-friendly app offering robust playlist management.

- Install GSE Smart IPTV:
- Download it from the Mac App Store or the official website.
- Add Your Playlist:
- Open the app and go to Remote Playlists.
- Click the + button and enter the M3U URL from your IPTV provider.
- Stream Your Content:
- Browse your playlist to start watching live TV or on-demand shows.
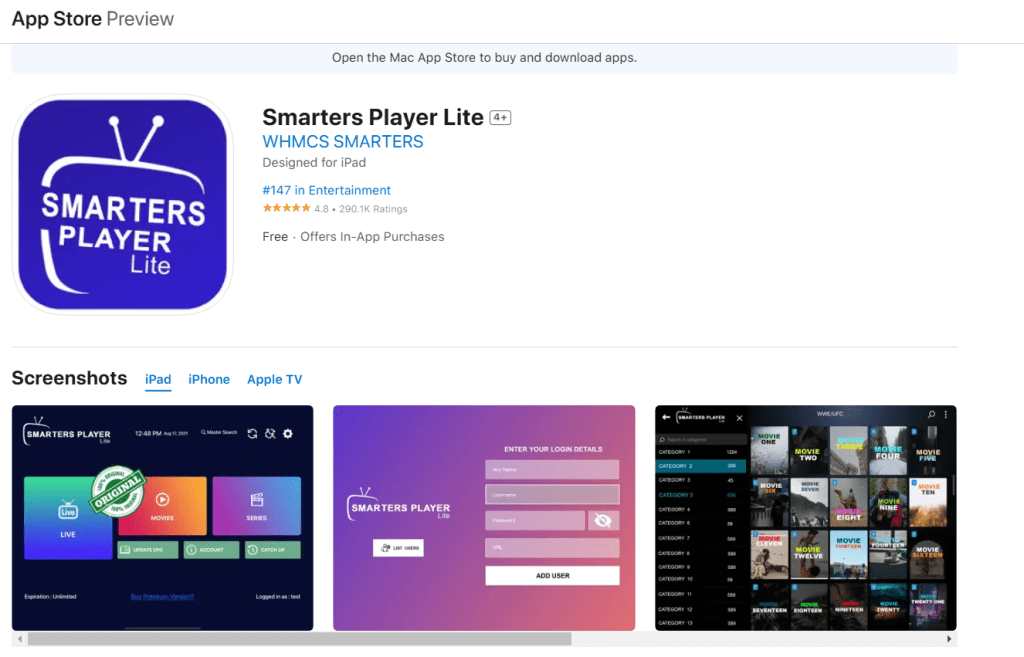
Option 2: IPTV Smarters Lite
IPTV Smarters Lite is a premium app tailored for IPTV users with advanced features like multi-screen streaming.

- Download the App:
- Visit the IPTV Smarters website and download the macOS version.
- Enter Credentials:
- Open the app and select Add User.
- Choose M3U URL or Xtream Codes Login and enter your subscription details.
- Explore Categories:
- Channels are categorized into Live TV, Movies, and Series for easy browsing.
Option 3: VLC Media Player
VLC is a free, open-source player that supports a wide range of media formats, including IPTV streams.

- Download VLC:
- Visit the official VLC website.
- Download the macOS version and install it.
- Load the IPTV Playlist:
- Open VLC and navigate to File > Open Network.
- Paste the M3U URL provided by your IPTV provider.
- Click Open to load the playlist.
- Start Streaming:
- Use the playlist panel to browse channels and begin streaming.
Step 2: Configure Your Settings
To optimize your IPTV experience on macOS, adjust the following settings:
- Network Settings:
- Use a wired Ethernet connection for stability or connect to high-speed Wi-Fi.
- Playback Quality:
- Adjust the video quality in the app’s settings based on your internet speed to avoid buffering.
- EPG Integration:
- Many IPTV services provide Electronic Program Guides (EPGs). Add the EPG URL to your app for a TV-like guide.
Step 3: Troubleshoot Common Problems

Issue: Playlist Fails to Load
- Verify that your M3U URL or Xtream Codes credentials are correct.
- Ensure your subscription is active.
Issue: Buffering or Streaming Delays
- Check your internet speed and close other bandwidth-heavy apps.
- Lower the playback resolution in the app’s settings.
Issue: App Crashes or Freezes
- Restart your Mac and relaunch the IPTV app.
- Update the app to its latest version.
Advanced Tips for Using IPTV on Mac
1. Install a VPN
A VPN ensures privacy and bypasses geo-restrictions on certain IPTV channels.
- Popular VPNs: NordVPN, ExpressVPN, Surfshark.
- Install a VPN app on your Mac, connect to a server near your IPTV provider’s region, and start streaming securely.
2. Organize Your Channels
Most IPTV players allow you to create favorites, sort playlists, and filter channels for easier navigation.
3. Record Live TV
Apps like VLC and IPTV Smarters Pro support recording features, letting you save live TV for later viewing.
FAQs About Setting Up IPTV on Mac

1. Is IPTV Legal?
IPTV is legal when used with licensed providers. Avoid pirated or unverified services to ensure compliance with copyright laws.
2. Can I Watch IPTV Without a Subscription?
While some free IPTV playlists are available, a paid subscription ensures access to reliable and high-quality services.
3. Do I Need a High-End Mac?
No, most modern Macs can handle IPTV streaming. For 4K content, ensure your device meets the performance requirements.
Recommended Accessories for IPTV on Mac
- HDMI Cable or Adapter:
- Connect your Mac to a TV for a larger screen experience.
- External Storage:
- Save recordings or downloads with apps that offer offline viewing.
- Wireless Headphones:
- Enjoy immersive audio without disturbing others.
Conclusion
Setting up IPTV on your Mac is a simple process that can elevate your entertainment options. With reliable apps like VLC Media Player, IPTV Smarters Pro, or GSE Smart IPTV, you’ll have access to a world of live TV and on-demand content. Follow the steps in this guide, optimize your settings, and enjoy a seamless IPTV experience on macOS.
